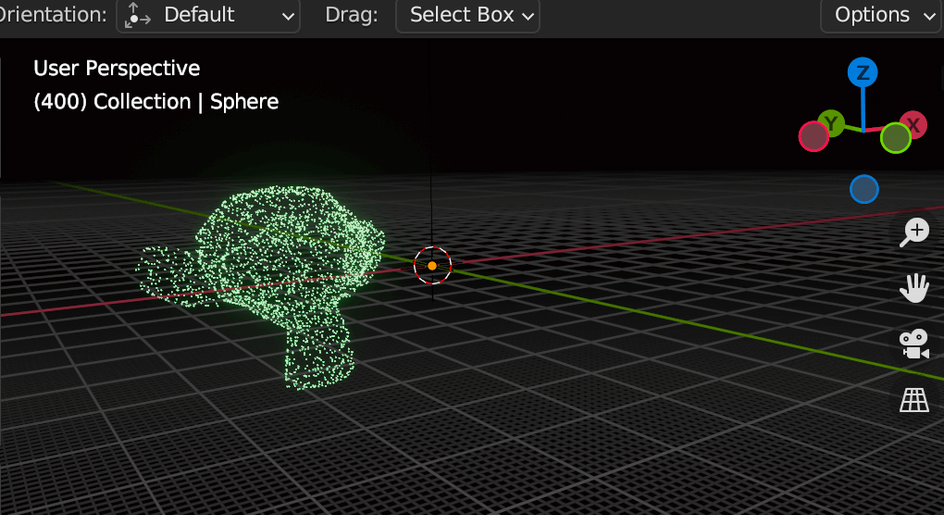
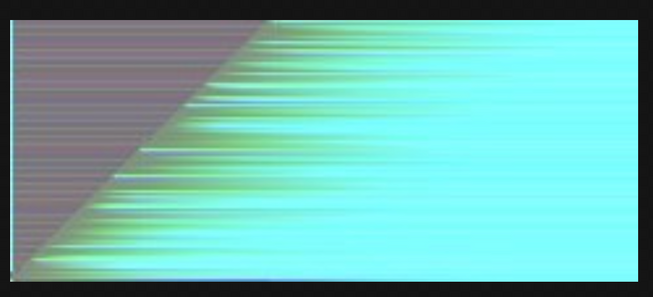
This article is one way in which you can create particle animations in blender and via a script, export to @react-three/fiber!
The premise is as follows:
- Using geometry nodes we create particles on the surface of a shape and we morph between shapes
- Via scripting, we export the data via an image
- Merge images
- In R3F we consume this texture/image
Using geometry nodes we create particles on the surface of a shape
The idea came from this youtube tutorial on particle morphing in blender by Robbie Tilton
Here is the node setup in blender:
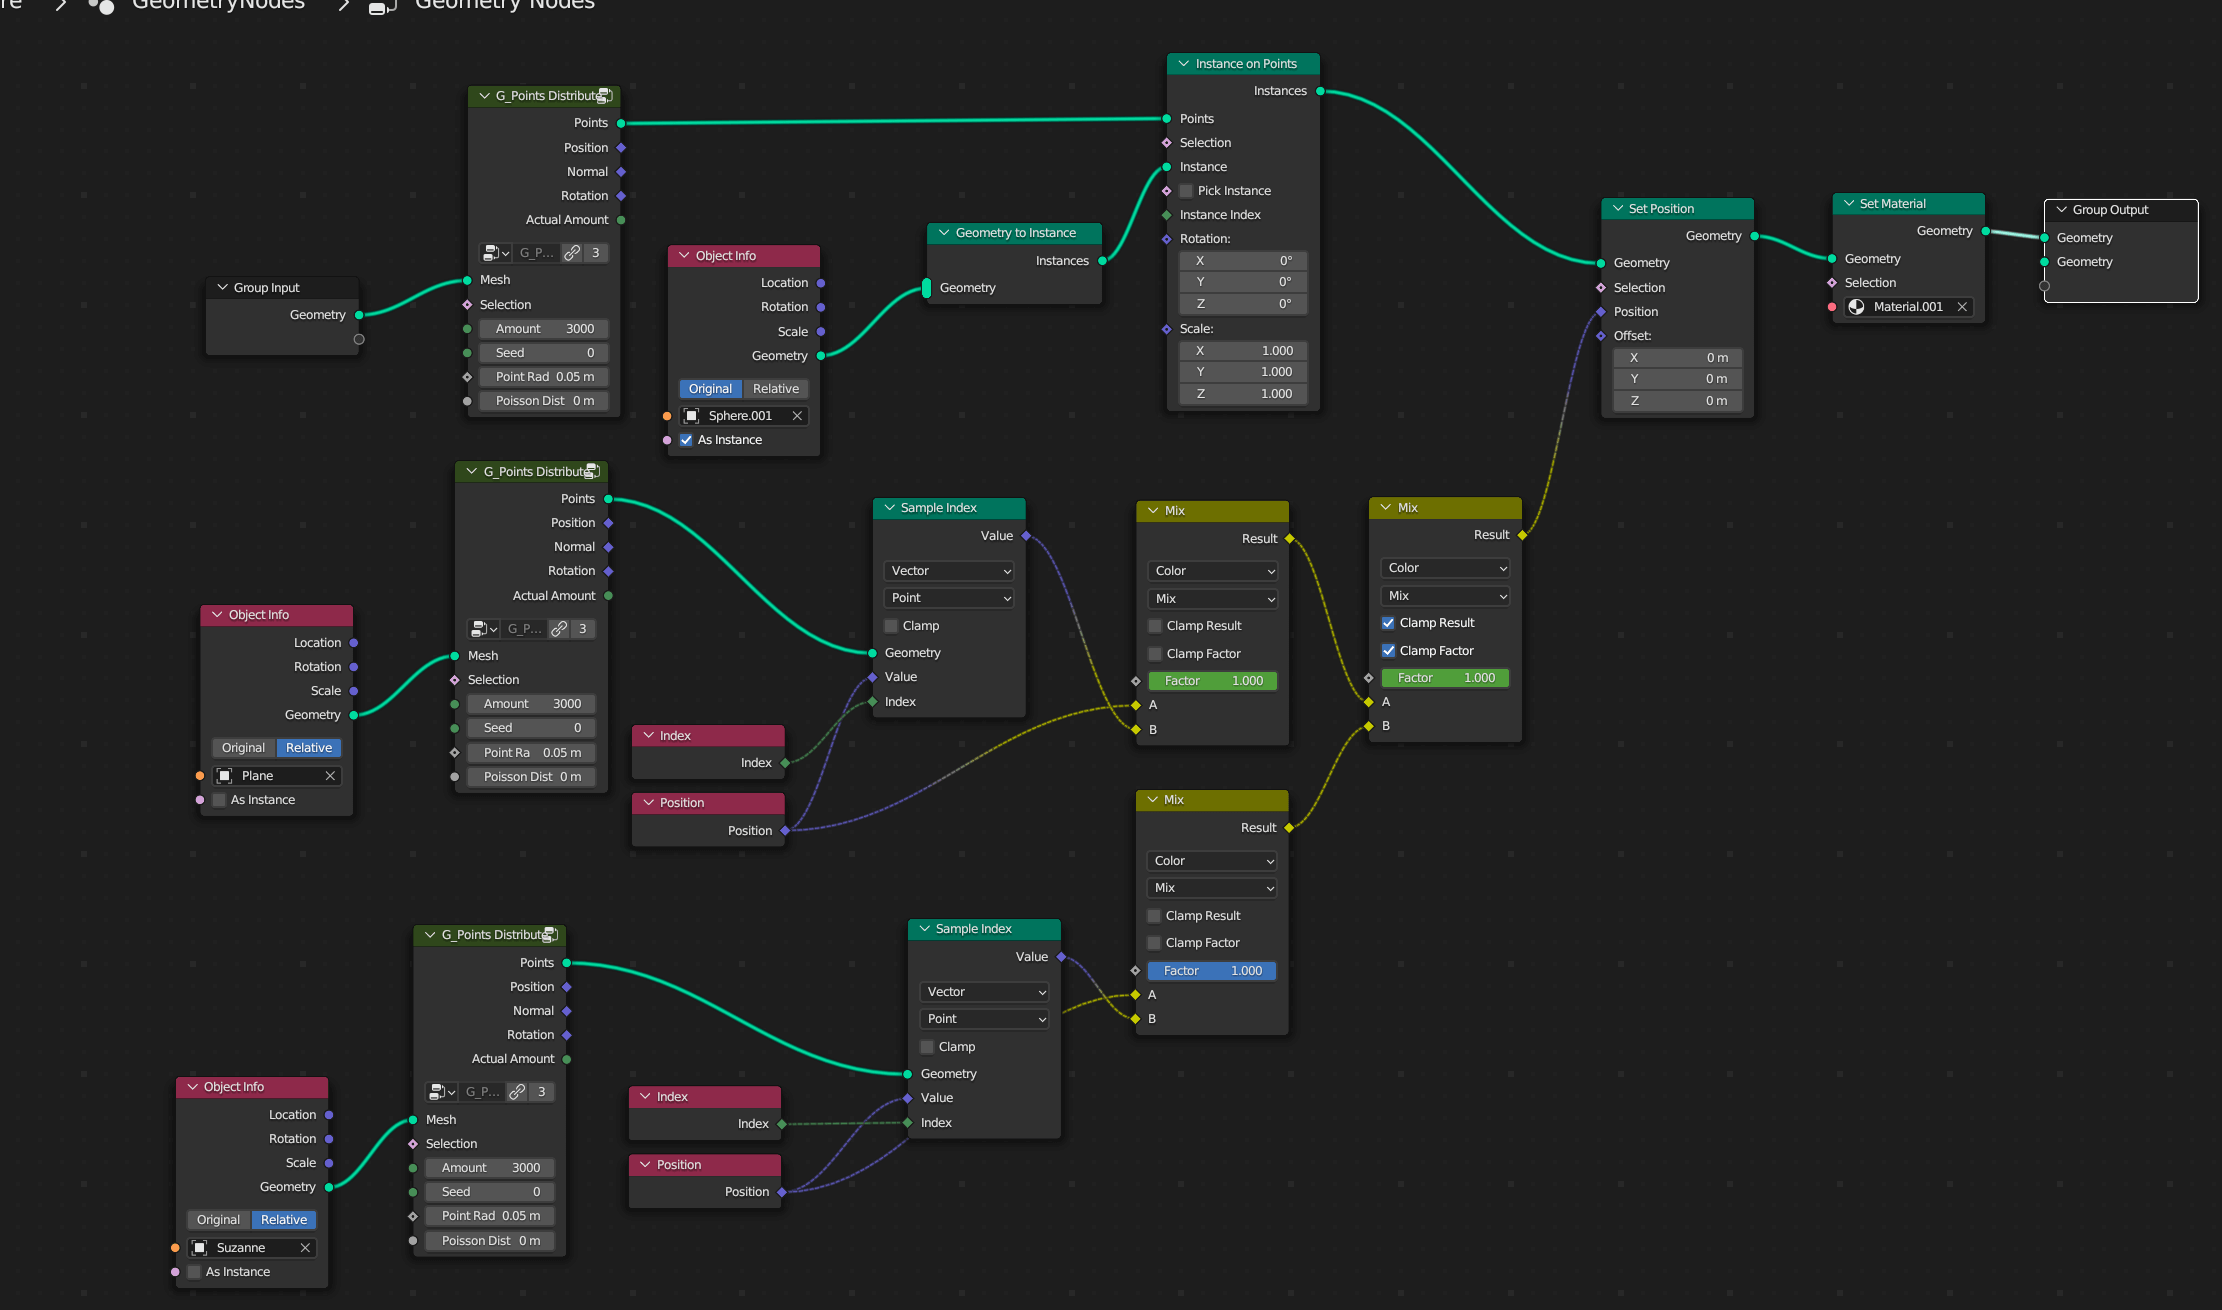
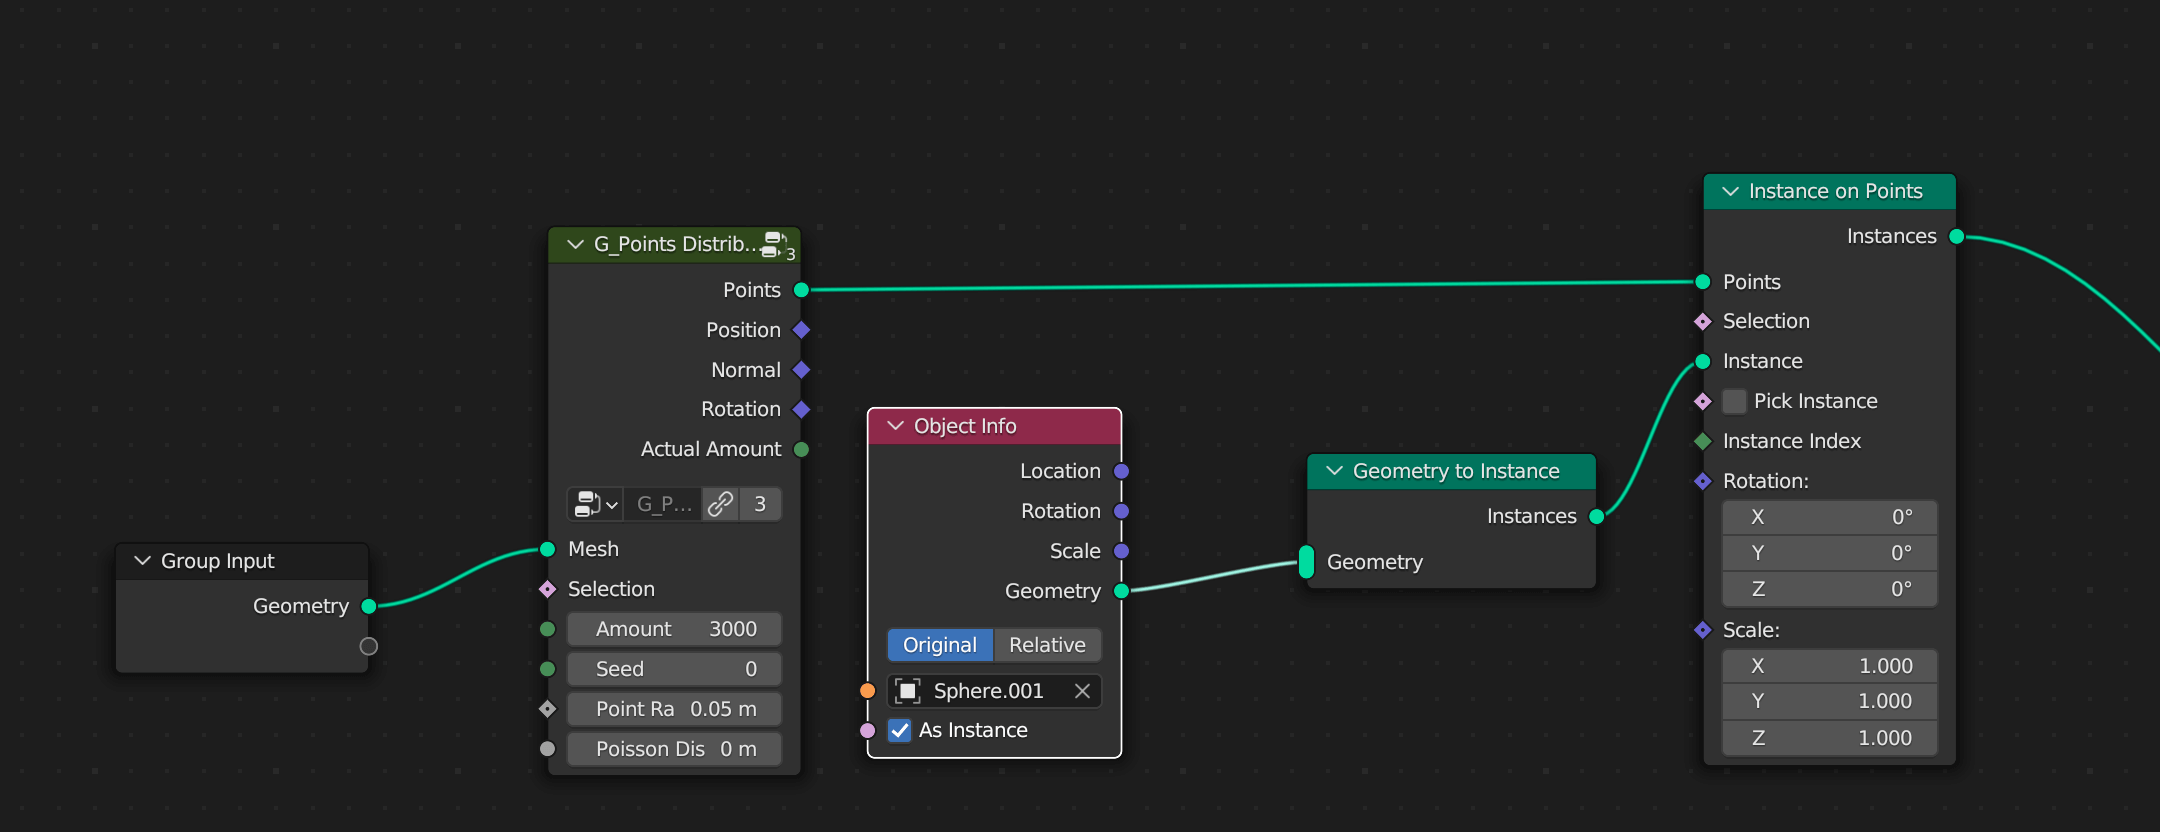
We start off by distributing the points / instances on the first shape:
Having done this we now want to do the same node setup on two more shapes and then use the mix color node.
To Get it animating we have to keyframe the factor of the mix node. This way it will animate from 0-1 over time. I chose 400 frames as the max / end of the animation.
So we now have 3 shapes and they animate between the factors of the mix nodes.
We will need a way to utilise this inside of a shader in threejs / @react-three/fiber. Welcome the export script to the stage! 👀
Here is the blender file.
And here is a link to some geometry node presets addon.
Via scripting, we export the data via an image
So here is the export script:
1import bpy2import numpy as np3import os456object = bpy.data.objects["Sphere"]78def particleSetter(scene, degp):9 degp = bpy.context.evaluated_depsgraph_get()10 obj = bpy.data.objects['Sphere']11 obj_evaluated = obj.evaluated_get(degp)12 cFrame = scene.frame_current13 location = []1415 instance_count = 016 for object_instance in degp.object_instances:17 # This is an object which is being instanced.18 obj = object_instance.object19 # `is_instance` denotes whether the object is coming from instances (as an opposite of20 # being an emitting object. )2122 if object_instance.is_instance and object_instance.parent == obj_evaluated:23 # Instanced will additionally have fields like uv, random_id and others which are24 # specific for instances. See Python API for DepsgraphObjectInstance for details,25 loc, rot, sca = object_instance.matrix_world.decompose()2627 location.extend([loc[0] / 150.0 + 0.5,loc[1]/ 150.0 + 0.5, loc[2]/150.0 + 0.5])2829 print(location)3031 size = int(len(location)/ 3), 13233 image = bpy.data.images.new("pos-1.0-frame-%s" % cFrame, width=size[0], height=size[1])34 image.colorspace_settings.name = 'Non-Color'35 pixels = [None] * size[0] * size[1]36 for x in range(size[0]):37 r = location[x * 3 -2]38 g = location[x * 3 -1]39 b = location[x * 3]40 a = 1.041 pixels[x] = [r, g, b, a]42 pixels = [chan for px in pixels for chan in px]43 image.pixels = pixels44 image.file_format = "PNG"45 image.filepath_raw = "/tmp/position-frame-%s.png" % cFrame4647 image.save()4849#clear the post frame handler50bpy.app.handlers.frame_change_post.clear()5152#run the function on each frame53bpy.app.handlers.frame_change_post.append(particleSetter)
This is all based around running a function every frame. A small point is that you have to use some inbuilt functions from the blender python API. I found this stackoverflow post very useful.
In essense we:
- grab the sphere
- evaluate the data
- Manipulate the coordinates into 0-1 range
- Determine the number of pixels we will create
- Set
image.colorspace_settings.name = 'Non-Color'to avoid gama correction done on the images in sRGB color space <— very important - run this function every frame change
One important point is I used my desktop to run this as its quite intensive on my laptop.
Another couple of important points from my studying or learning is that if the number is too high we divide the position by we lose signal strength or precision.. but conversely if too low then we will get solid colors and we dont want this and this is a way to tell us that we have values which have clamped to 0.0 or 1.0 which means we need to increase the number we divide by.
Solid colors are 0.0 or 1.0 in values for vec3()‘s or vec4’s.
Theres a good example of explaining this calculation in a previous article.
The last point is that we dont want gamma correction
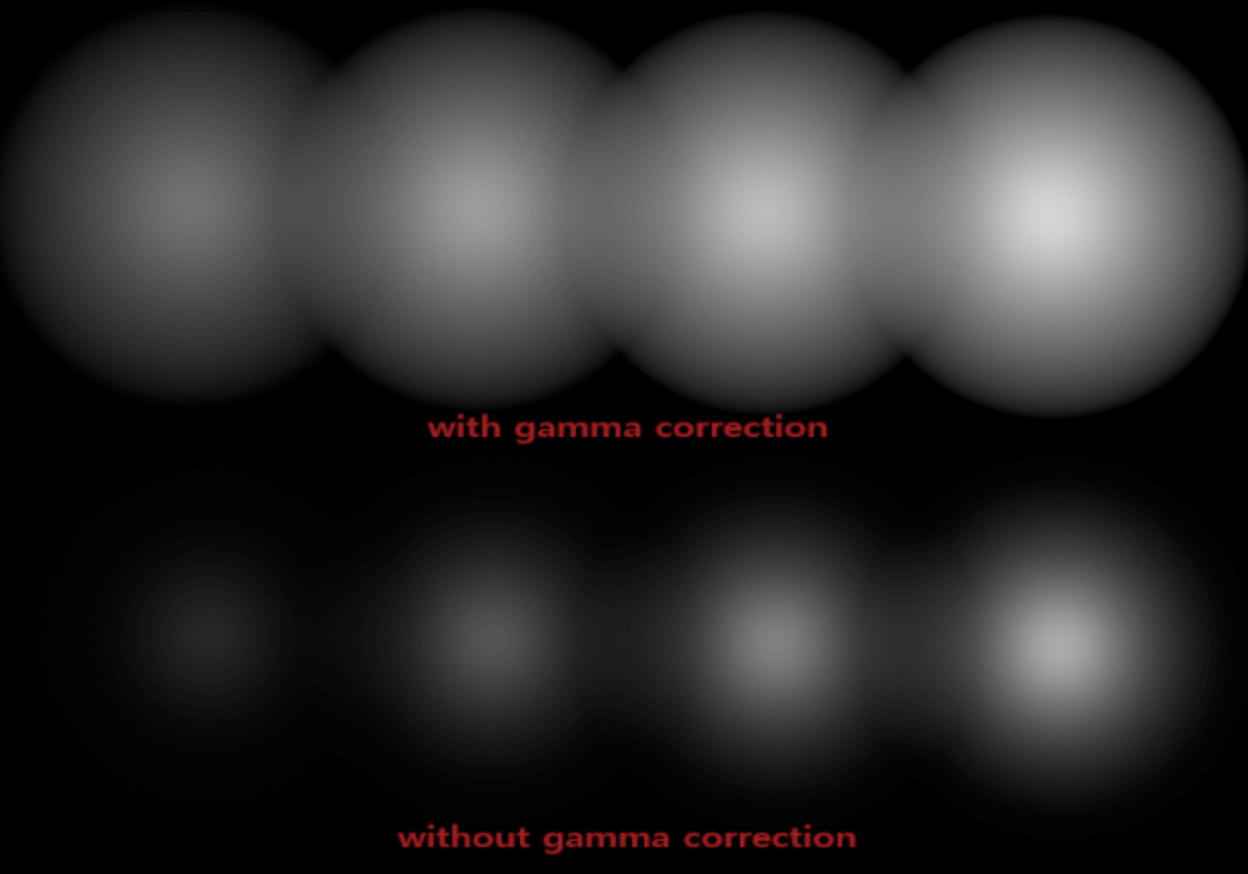
Gamma correction weights the colors in an image more to the bright side or increasing intensity as light gets lighter. This is to try and mimic what the human eye does. But I wont go into great detail, theres loads of resources online which explain this in a lot of detail.
Merge Images
The process of merging is quite laborious and Im hoping to potentially use blenders image compositor next time.
But this article here explains the website I used and as we once again did a 2893.0 x 1 texture / image we can easily merge these uniformly sized images.
Here a few tries I did:


And here is the final image which I used in the codesandbox:

In R3F we consume this texture/image
The final part of this puzzle is to consume this image inside of the threejs / @react-three/fiber shader:
1import { Suspense, useRef, useEffect, useCallback } from "react";2import { Canvas, useFrame, useLoader } from "@react-three/fiber";3import { OrbitControls } from "@react-three/drei";4import download from "./Smoke15Frames.png";5import * as THREE from "three";6import { useMemo } from "react";7import texture from "./morph_particles-1.9.jpg";8// Building on storing data in images and this is an9// example of a particle simulation in blender 1-240 frames10// sampled at every frame and only 5-6kb! bare in mind this11// is only 100 particles12function Points() {13 const tex = useLoader(THREE.TextureLoader, texture);14 tex.encoding = THREE.LinearEncoding;15 const orb = useLoader(THREE.TextureLoader, download);16 const pointsRef = useRef();17 const shaderRef = useRef();1819 const customShader = {20 uniforms: {21 positions: {22 value: tex23 },24 orb: {25 value: orb26 },27 time: {28 value: null29 }30 },31 vertexShader: `32 uniform sampler2D positions;33 uniform float time;34 varying vec2 vUv;35 attribute float index;3637 void main () {38 vec2 myIndex = vec2((index + 0.5)/2893.0, (mod(time * 0.1, 1.0)));3940 vec4 pos = texture2D( positions, myIndex);4142 float x = (pos.x - 0.5) * 150.0;43 float y = (pos.y - 0.5) * 150.0;44 float z = (pos.z - 0.5) * 150.0;4546 gl_PointSize =2.0;47 gl_Position = projectionMatrix * modelViewMatrix * vec4(x,y,z, 1.0);4849 }`,50 fragmentShader: `51 void main () {52 gl_FragColor = vec4(0.3,1.0,1.0,0.2);53 }`54 };5556 let [positions, indexs] = useMemo(() => {57 let positions = [...Array(8682).fill(0)];58 let index = [...Array(2894).keys()];5960 return [new Float32Array(positions), new Float32Array(index)]; //merupakan array yang sesuai dengan buffer61 }, []);6263 useEffect(() => {64 if (pointsRef.current) {65 console.log({ indexs, positions });66 console.log({ pointsRef });67 }68 }, []);6970 useFrame(({ clock }) => {71 shaderRef.current.uniforms["time"].value = clock.elapsedTime;72 });7374 return (75 <points ref={pointsRef}>76 <bufferGeometry attach="geometry">77 <bufferAttribute78 attach="attributes-position"79 array={positions}80 count={positions.length / 3.0}81 itemSize={3}82 />83 <bufferAttribute84 attach="attributes-index"85 array={indexs}86 count={indexs.length}87 itemSize={1}88 />89 </bufferGeometry>90 <shaderMaterial91 ref={shaderRef}92 attach="material"93 color={"red"}94 sizeAttenuation95 transparent96 depthTest97 vertexShader={customShader.vertexShader}98 fragmentShader={customShader.fragmentShader}99 uniforms={customShader.uniforms}100 />101 </points>102 );103}104105function AnimationCanvas() {106 return (107 <Canvas camera={{ position: [500, 150, 50], fov: 75 }}>108 <OrbitControls />109 <gridHelper />110 <Suspense fallback={null}>111 <Points />112 </Suspense>113 </Canvas>114 );115}116117export default function App() {118 return (119 <div className="App">120 <Suspense fallback={<div>Loading...</div>}>121 <color attach="background" args={"black"} />122 <AnimationCanvas />123 <gridHelper />124 </Suspense>125 </div>126 );127}
We use points as this seems like the best way to show the particles or we could use GPU particle instancing.
We have a buffer geometry with a hardcoded number of positions, this needs to match the number of particles we used in blender exactly.
We also need an index for figuring out the uvs of the image, uvs are 0-1 range and thats why we divide the index by 2893.0. We add 0.5 to the index to center it.
1vec2 myIndex = vec2((index + 0.5)/2893.0, (mod(time * 0.1, 1.0)));
We then do a texture lookup and then convert the small numbers back to the real useful numbers or coordinates.
1vec4 pos = texture2D( positions, myIndex);23float x = (pos.x - 0.5) * 150.0;4float y = (pos.y - 0.5) * 150.0;5float z = (pos.z - 0.5) * 150.0;67gl_PointSize =2.0;89gl_Position = projectionMatrix * modelViewMatrix * vec4(x,y,z, 1.0);
I split up the xyz bit just to be clear whats happening.
Final Thoughts
This is a great way to do particle animations in blender where it is arguably easier and then do minimal shader code avoiding the need for something more complicated like GPU particle simulation shaders etc.
There are some great possibilities here like attaching the animation to a scroll event or doing a camera animation.
This way is a lot more optimized than key-framing as key-framing 1000’s of particles is going to cause a bloated GLTF file. Where as these images could be Kb’s instead of Mbs (depending on the number of particles used).
Anyhow, hope you find useful! 🙂

