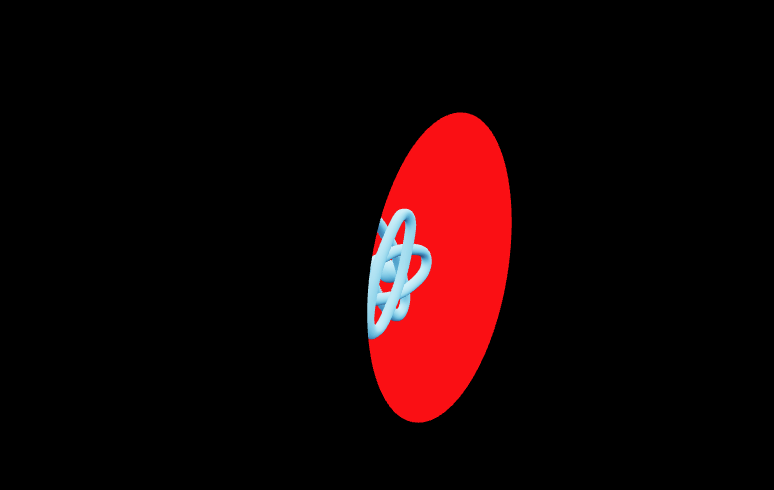
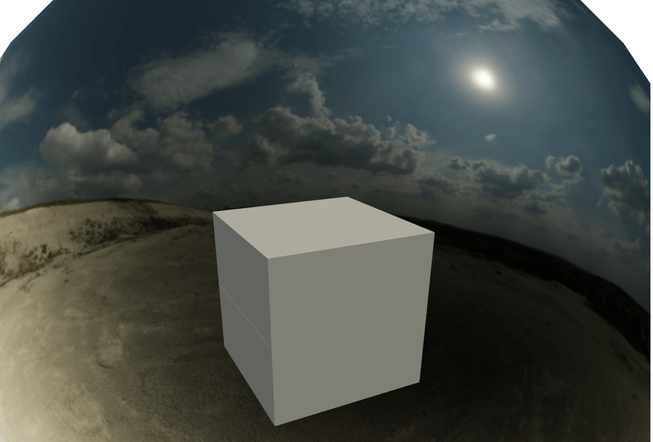
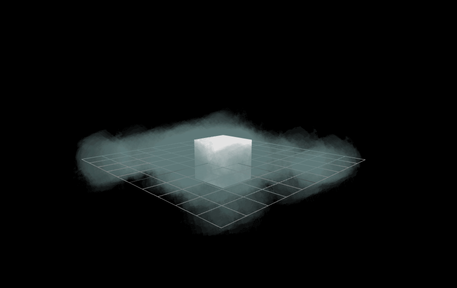
The stencil masks provide a really powerful way of hiding parts of a scene behind mask. In this particular use case you have to fly through a circle to get to the other scene.
You can make the scenes as big or as small as you like and so long as you define certain properties on the materials then everything will work seamlessly.
The first part is to do with the actual circle geometry which will represent our portal.
1<Mask id={1} position={[0, 0, 2.2]}>2 <circleGeometry args={[4.0, 128]} />3 <meshBasicMaterial4 colorWrite={true}5 depthWrite={false}6 stencilWrite={true}7 stencilRef={1}8 stencilFunc={THREE.AlwaysStencilFunc}9 stencilFail={THREE.ReplaceStencilOp}10 stencilZFail={THREE.ReplaceStencilOp}11 stencilZPass={THREE.ReplaceStencilOp}12 side={THREE.FrontSide}13 color={new THREE.Color("red")}14 />15</Mask>
We use the mask component from @react-three/drei and wrap the geometry and the material in it. Its important you give it an id so we can determine what is masked and what is not, between worlds. The position is such that it is just infront of the atom.
Be careful or the cameras near option and it doesnt look weird cutting things off or glitching, so set near to something really small. Not too precise as this can cause issues of its own.
The matertial for the circle has colorwrite to true, I did this in particular as if I dont the background of the scene you are looking at through the portal isnt right, so if we are on the left and the left has a black bhackground, instead of the portal showing the red background it would be black as we set color write to false.
These properties:
1stencilRef={1}2stencilFunc={THREE.AlwaysStencilFunc}3stencilFail={THREE.ReplaceStencilOp}4stencilZFail={THREE.ReplaceStencilOp}5stencilZPass={THREE.ReplaceStencilOp}
I played around with until I found something which worked.
Then i set it to frontside only so the portal trip would be one way! and the color to be red as the side we are on is black and the side we are looking at through the portal is red, this way we can have the seamless transition of background colors.
You have to ensure the colors are the same of the circle material and the background of the opposite side for seamless transitions when we go through the circle.
The atom is what we see and is the main mesh of the scene.
1<Bounds fit clip observe>2 <Float floatIntensity={4} rotationIntensity={0} speed={4}>3 <Atom scale={1.5} />4 </Float>5</Bounds>
(FYI I forked this repo from another one which has these meshes on the codesandbox)
And inside the Atom component we define a function which runs every time the camera changes position or rotation or in general changes one of its properties.
This function controls how we invert the masks and scenes, such that it feels like we are entering two worlds.
Quite simple but very effective!
1const hasCameraPassedThroughCircle = () => {2 const cameraPosition = camera.position.clone();3 const circleCenter = new THREE.Vector3(0, 0, 2.2);4 const cameraToCenter = circleCenter.clone().sub(cameraPosition);5 const distanceToCenter = cameraToCenter.length();6 const circleRadius = 4.0;7 if (distanceToCenter < circleRadius) {8 // Camera passes through the circle geometry9 return false;10 console.log("Camera passed through the portal.");11 } else {12 // Camera does not pass through the circle geometry13 return true;14 console.log("Camera does not pass through the portal.");15 }16};1718const handleCameraMove = (event) => {19 // Create a vector representing the circle's normal20 const circleNormal = new THREE.Vector3(0, 0, 1);2122 // Create a vector representing the target point23 const targetPoint = camera.position;2425 // Create a vector representing the circle's position26 const circlePosition = new THREE.Vector3(0, 0, 2.2);2728 // Create a vector representing the direction from the circle's position to the target point29 const directionToTarget = targetPoint.clone().sub(circlePosition);3031 // Calculate the dot product of the direction vector and the circle normal32 const dotProduct = directionToTarget.dot(circleNormal);3334 if (!hasCameraPassedThroughCircle()) {35 if (dotProduct >= 0.0) {36 console.log("Target point is in front of the circle.");37 ref.current.stencilWrite = true;38 ref.current.stencilRef = THREE.ReferenceStencilValue;39 ref.current.stencilFunc = THREE.NotEqualStencilFunc;40 ref.current.stencilFail = THREE.ReplaceStencilOp;41 ref.current.stencilZFail = THREE.ReplaceStencilOp;42 ref.current.stencilZPass = THREE.ReplaceStencilOp;43 scene.background = new THREE.Color("black");44 } else {45 console.log("Target point is behind the circle.");46 ref.current.stencilWrite = true;47 ref.current.stencilRef = 2;48 ref.current.stencilFunc = THREE.NotEqualStencilFunc;49 ref.current.stencilFail = THREE.ReplaceStencilOp;50 ref.current.stencilZFail = THREE.ReplaceStencilOp;51 ref.current.stencilZPass = THREE.ReplaceStencilOp;52 scene.background = new THREE.Color("red");53 }54 }55};
The hasCameraPassedThroughCircle function checks if the camera has passed through the circle otherwise we dont change anything including the mask. If we have passed through the circle geometry we then check if we are infront or behind the circle mesh.
If we are behind we invert the settings and have a red background and if we are infront we keep the main background black and this works seamlessly as we color the circle red which is the same as the inverted background.
I havent properly inverted the effect so once you go through the other side will look red and as if the portal doesnt exist.
You can image what kind of cool effects you can make with this workflow! and using something like drei’s helpers makes it so much easier.
Not perfect but gives you the general idea :)


