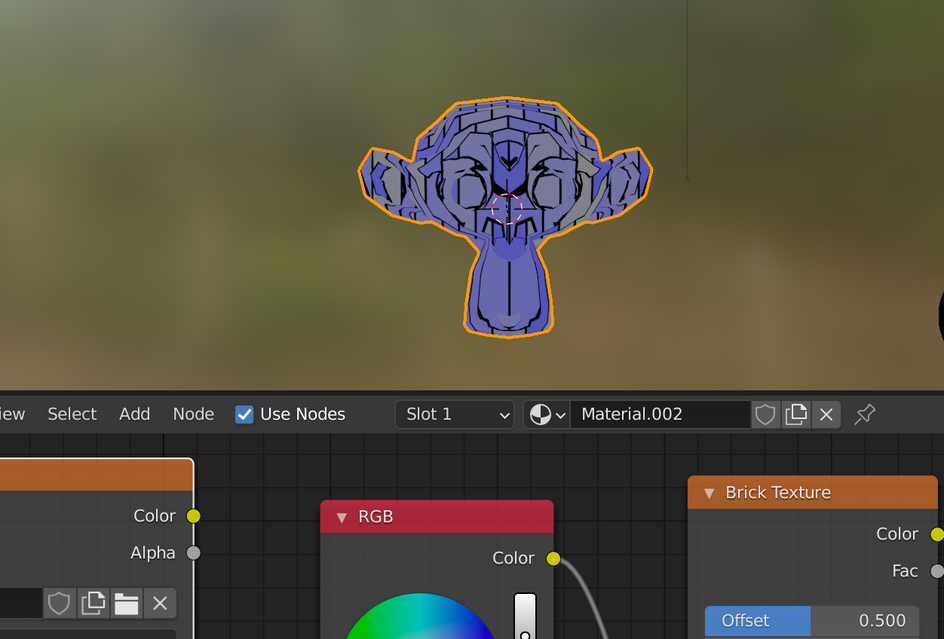
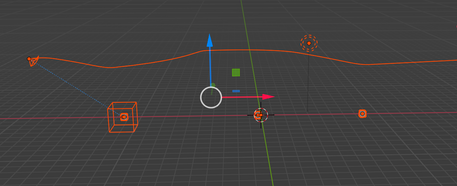
This weekend I felt like I needed to do something productive other than a trip away!
So its been a while and I thought Id take a look at baking the results of a shader node network in blender.
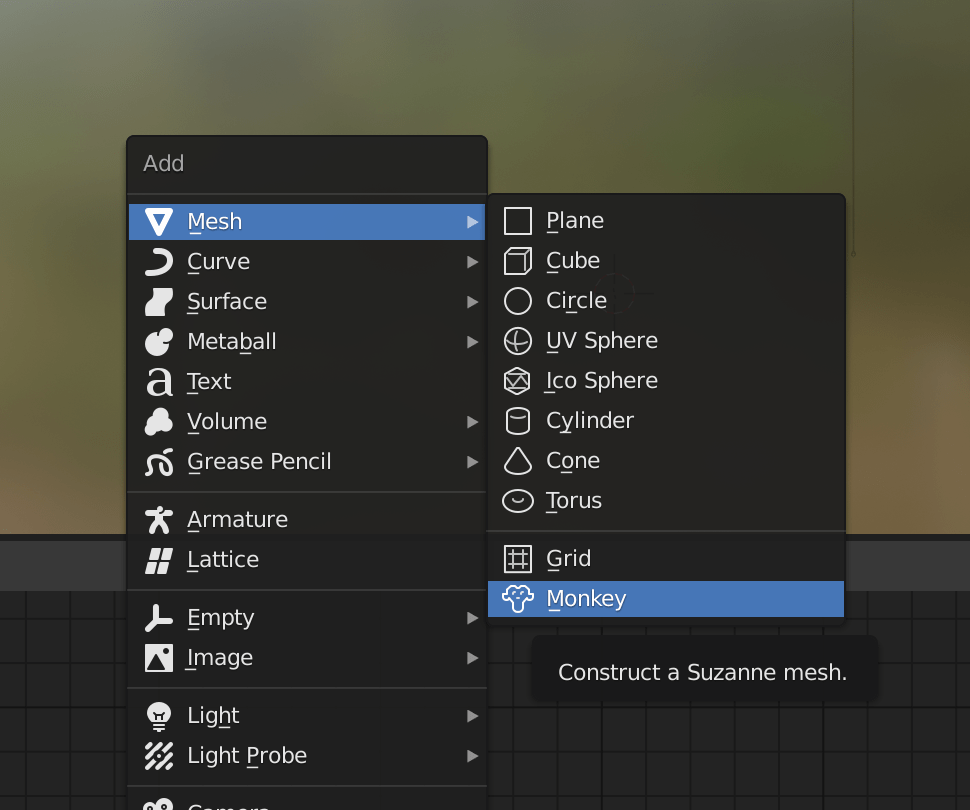
First of create a suzzanne monkey head (shift + a → mesh → monkey).
Now you need to drag the bottom bar of blender window up. Click the icon and select the shader editor.
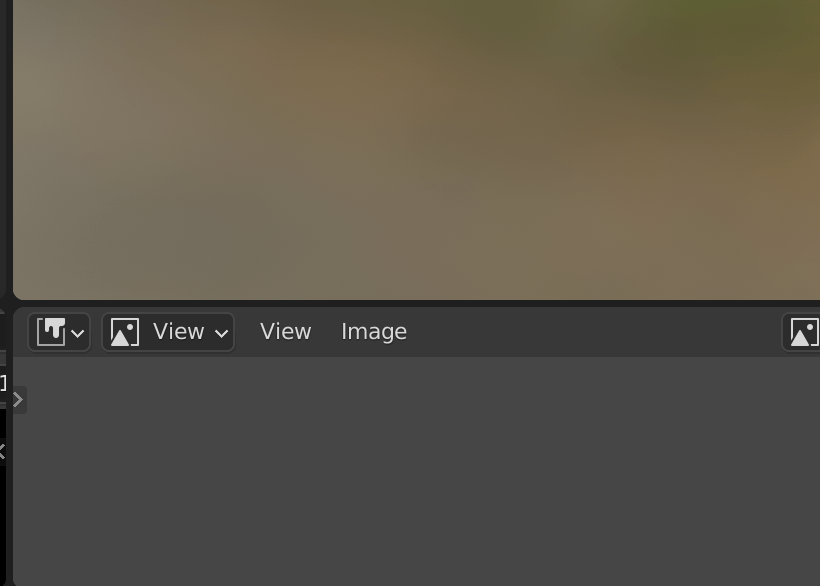
and then..
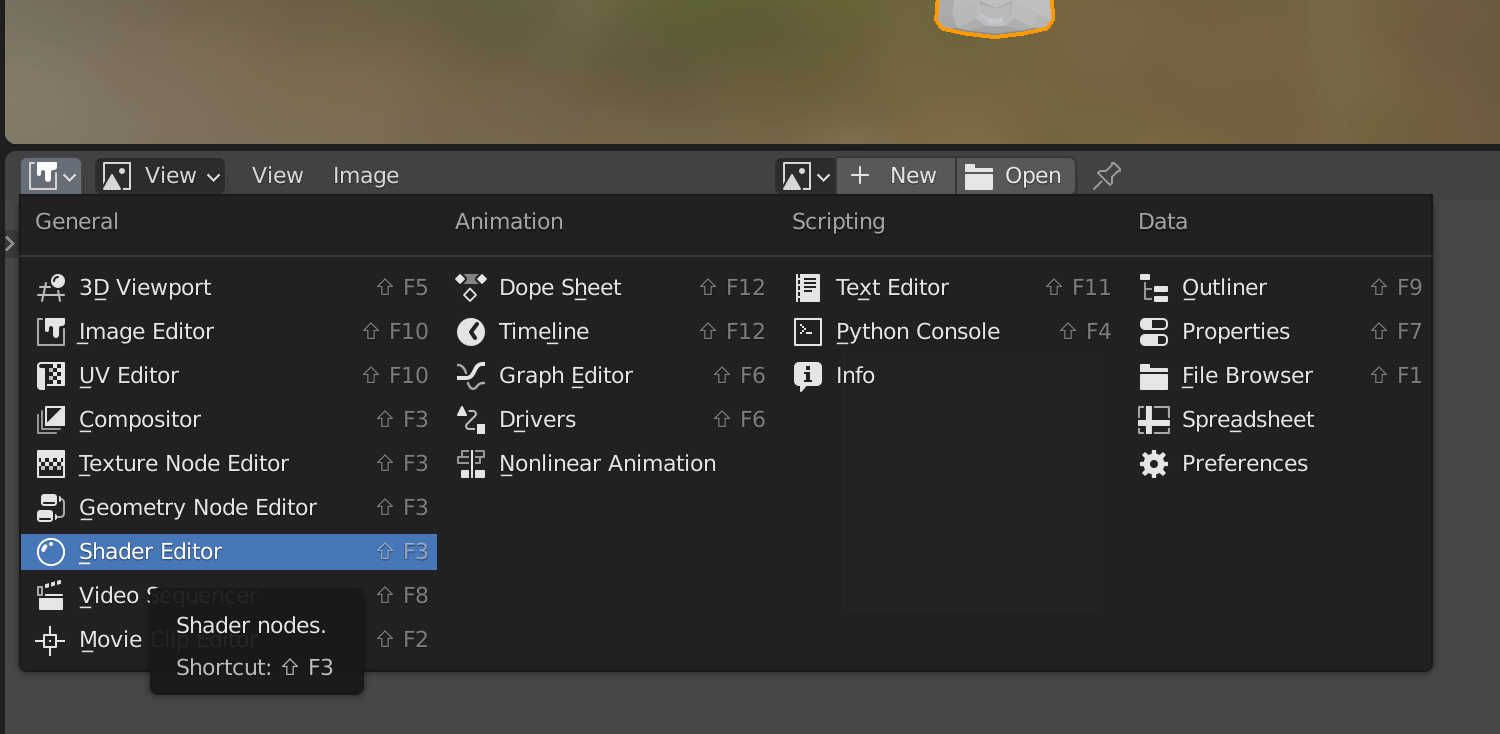
Once these steps have been done make sure you you select the cycle render engine in render properties tab on the right.
We can get to work on the baking soon..
I don’t know yet how to do many things with this YET, but baking is a great way of getting something procedural and getting it into a texture you can use in your 3D applications.
Make sure you have selected the monkey head.
Select new on the top bar of the shader editor and delete the principledBSDF node:
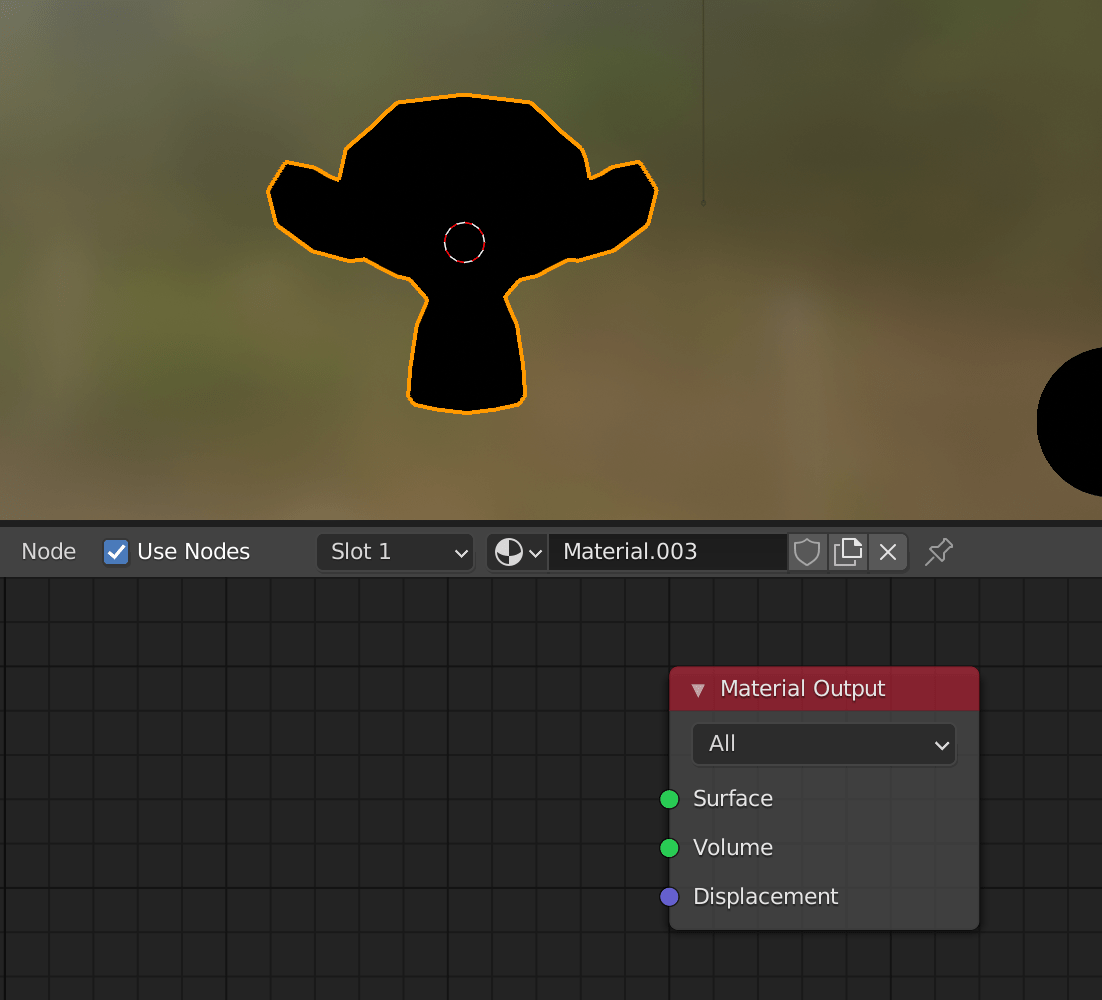
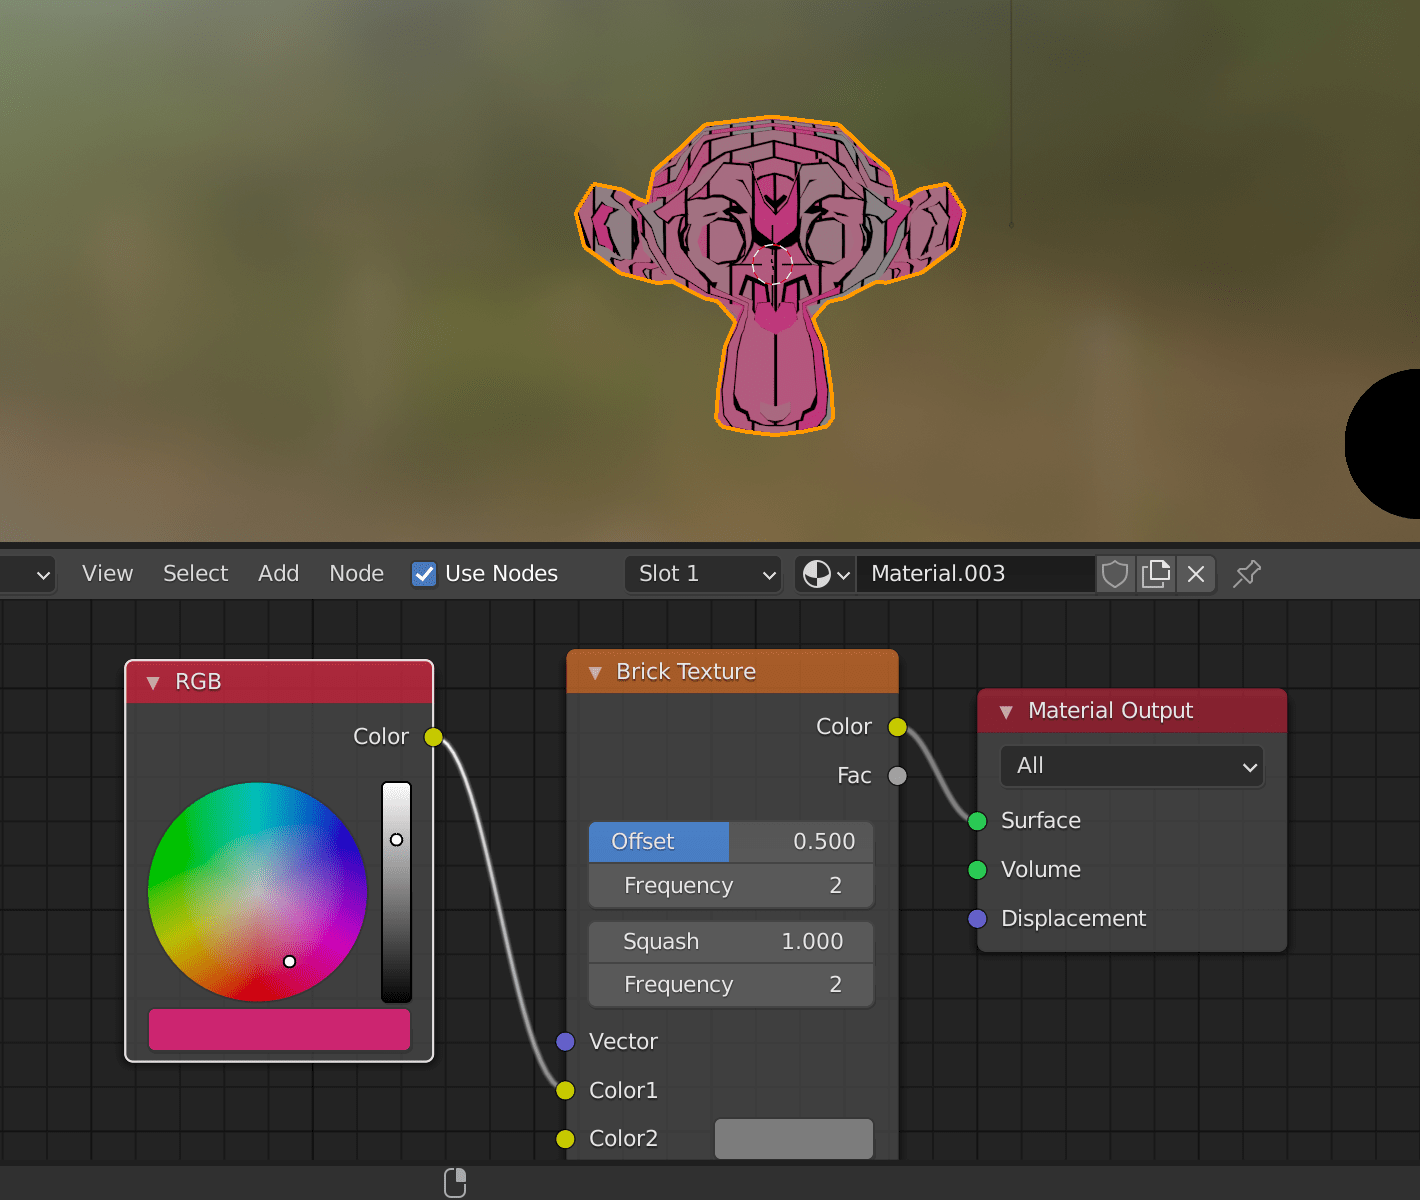
and then select this brick texture node:
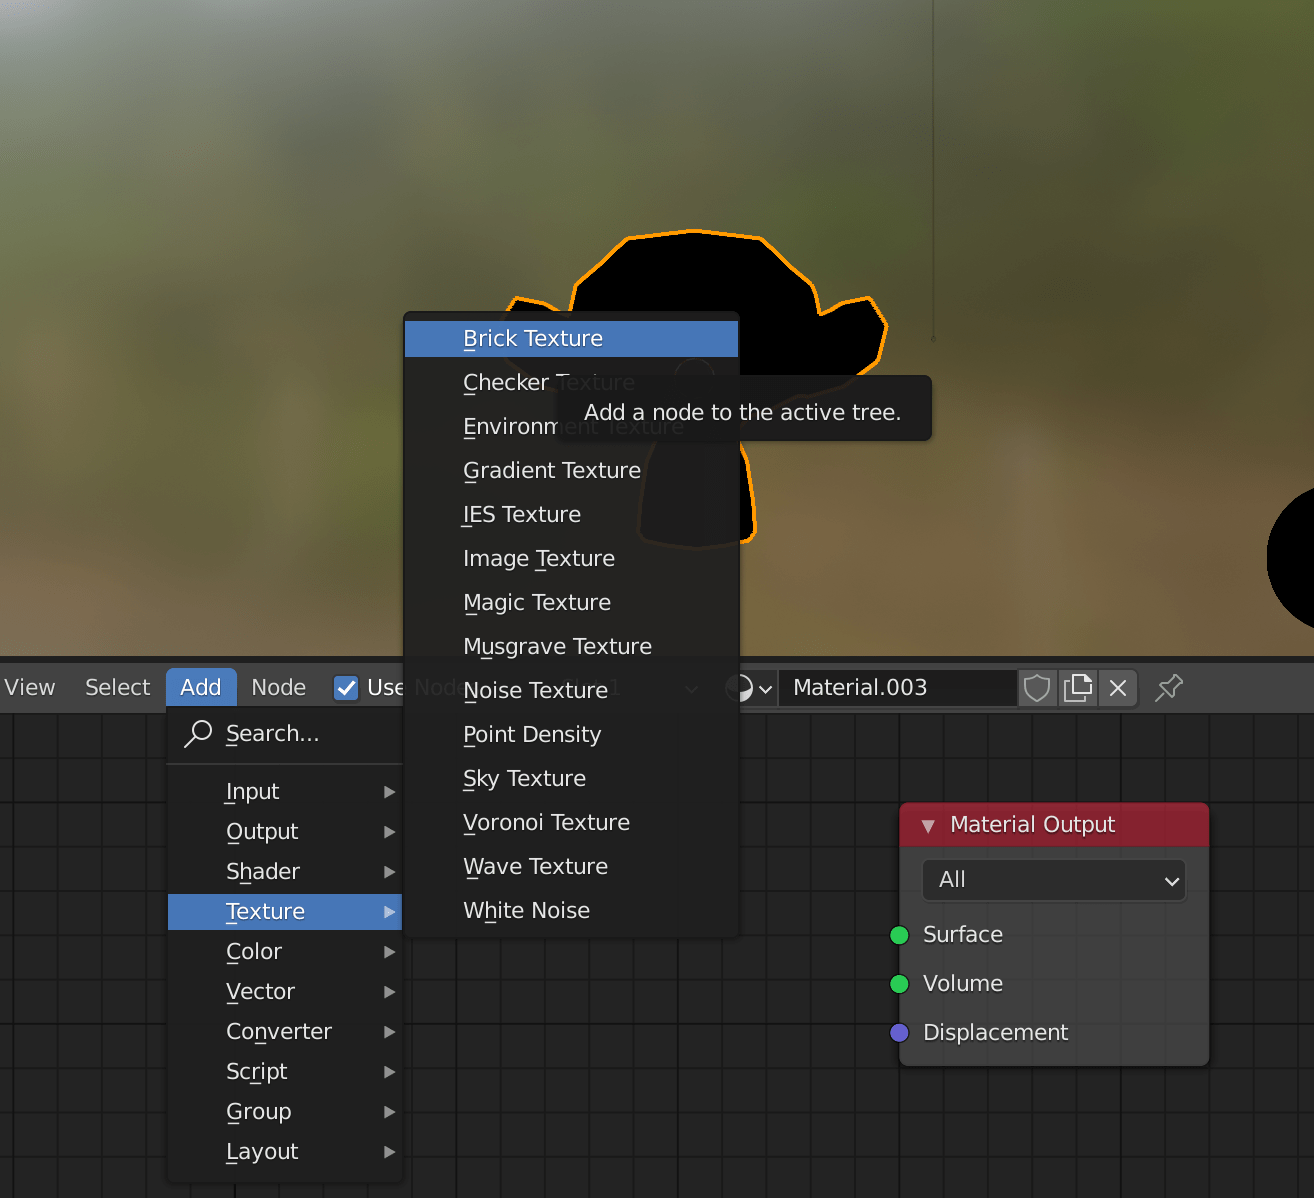
Join up the colour output to the input of the output material node. Then just because we can you should create an RGB node and connect the colour up with the colour input node on the brick texture.
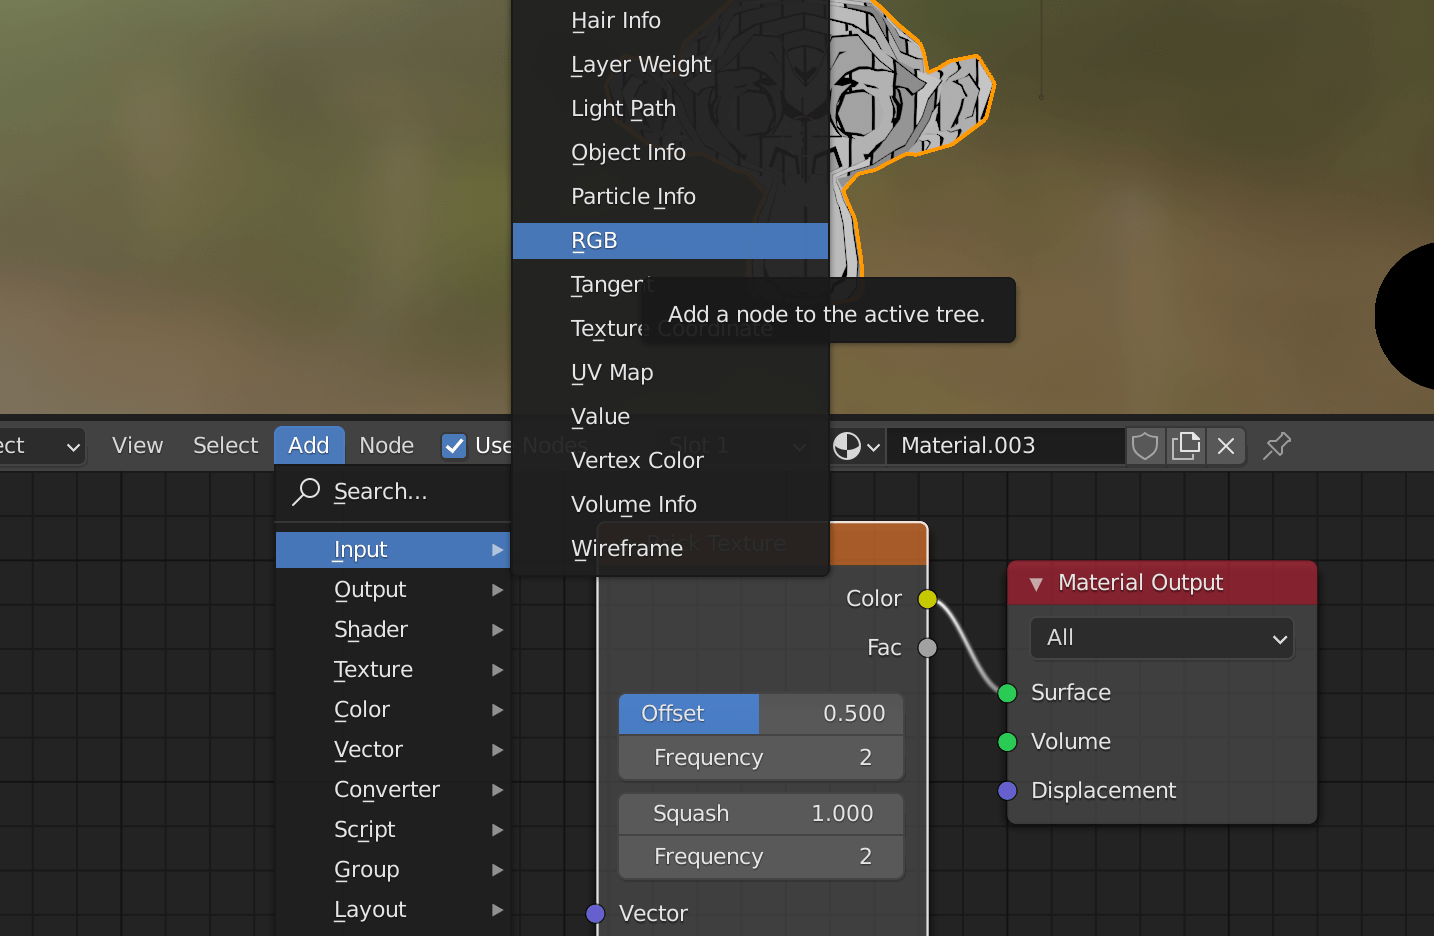
Now you should have something like this:
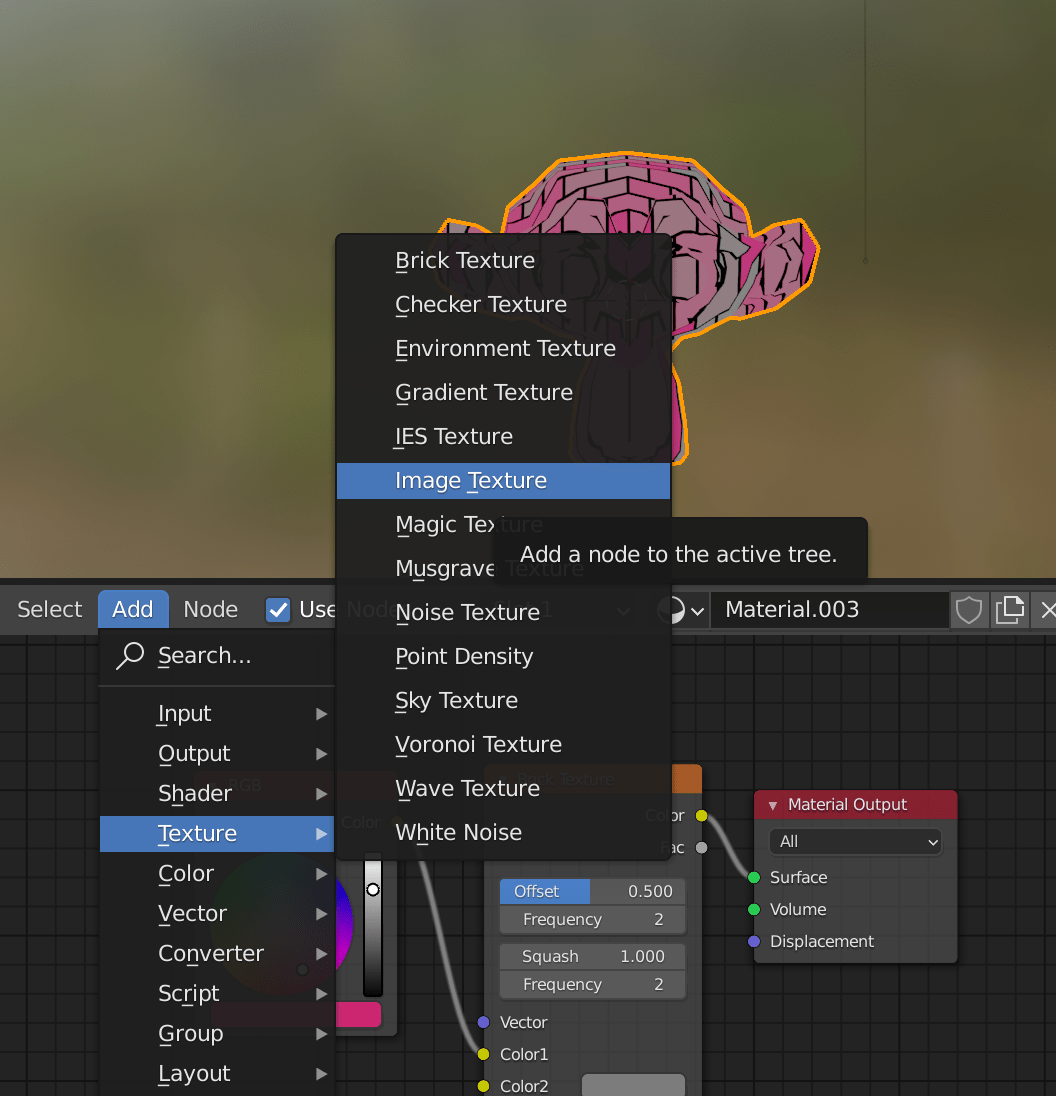
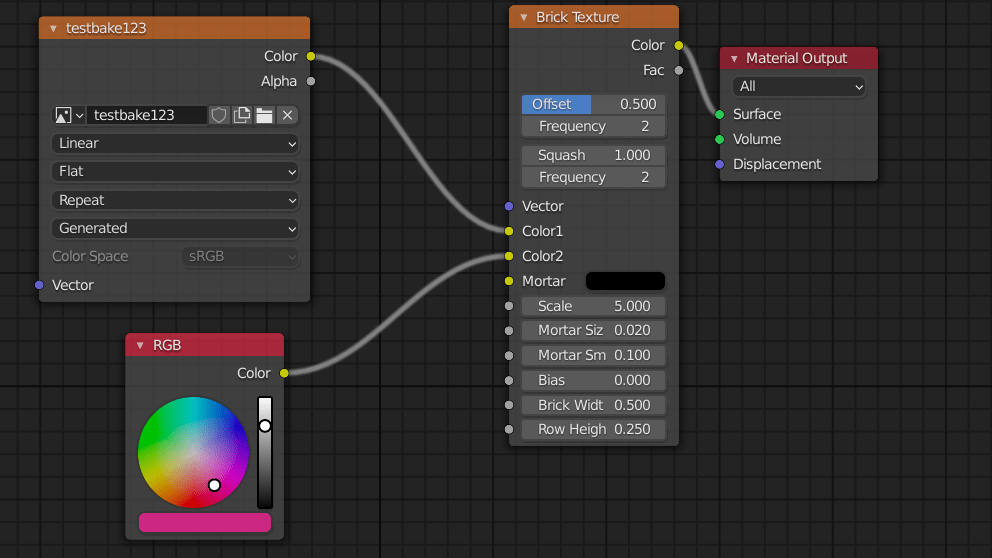
Now the key thing here is you have to create a image texture node and create a new standard image 1024x1024px. and connect it to the second colour input node of the brick texture node.
This is what it should finally look like:
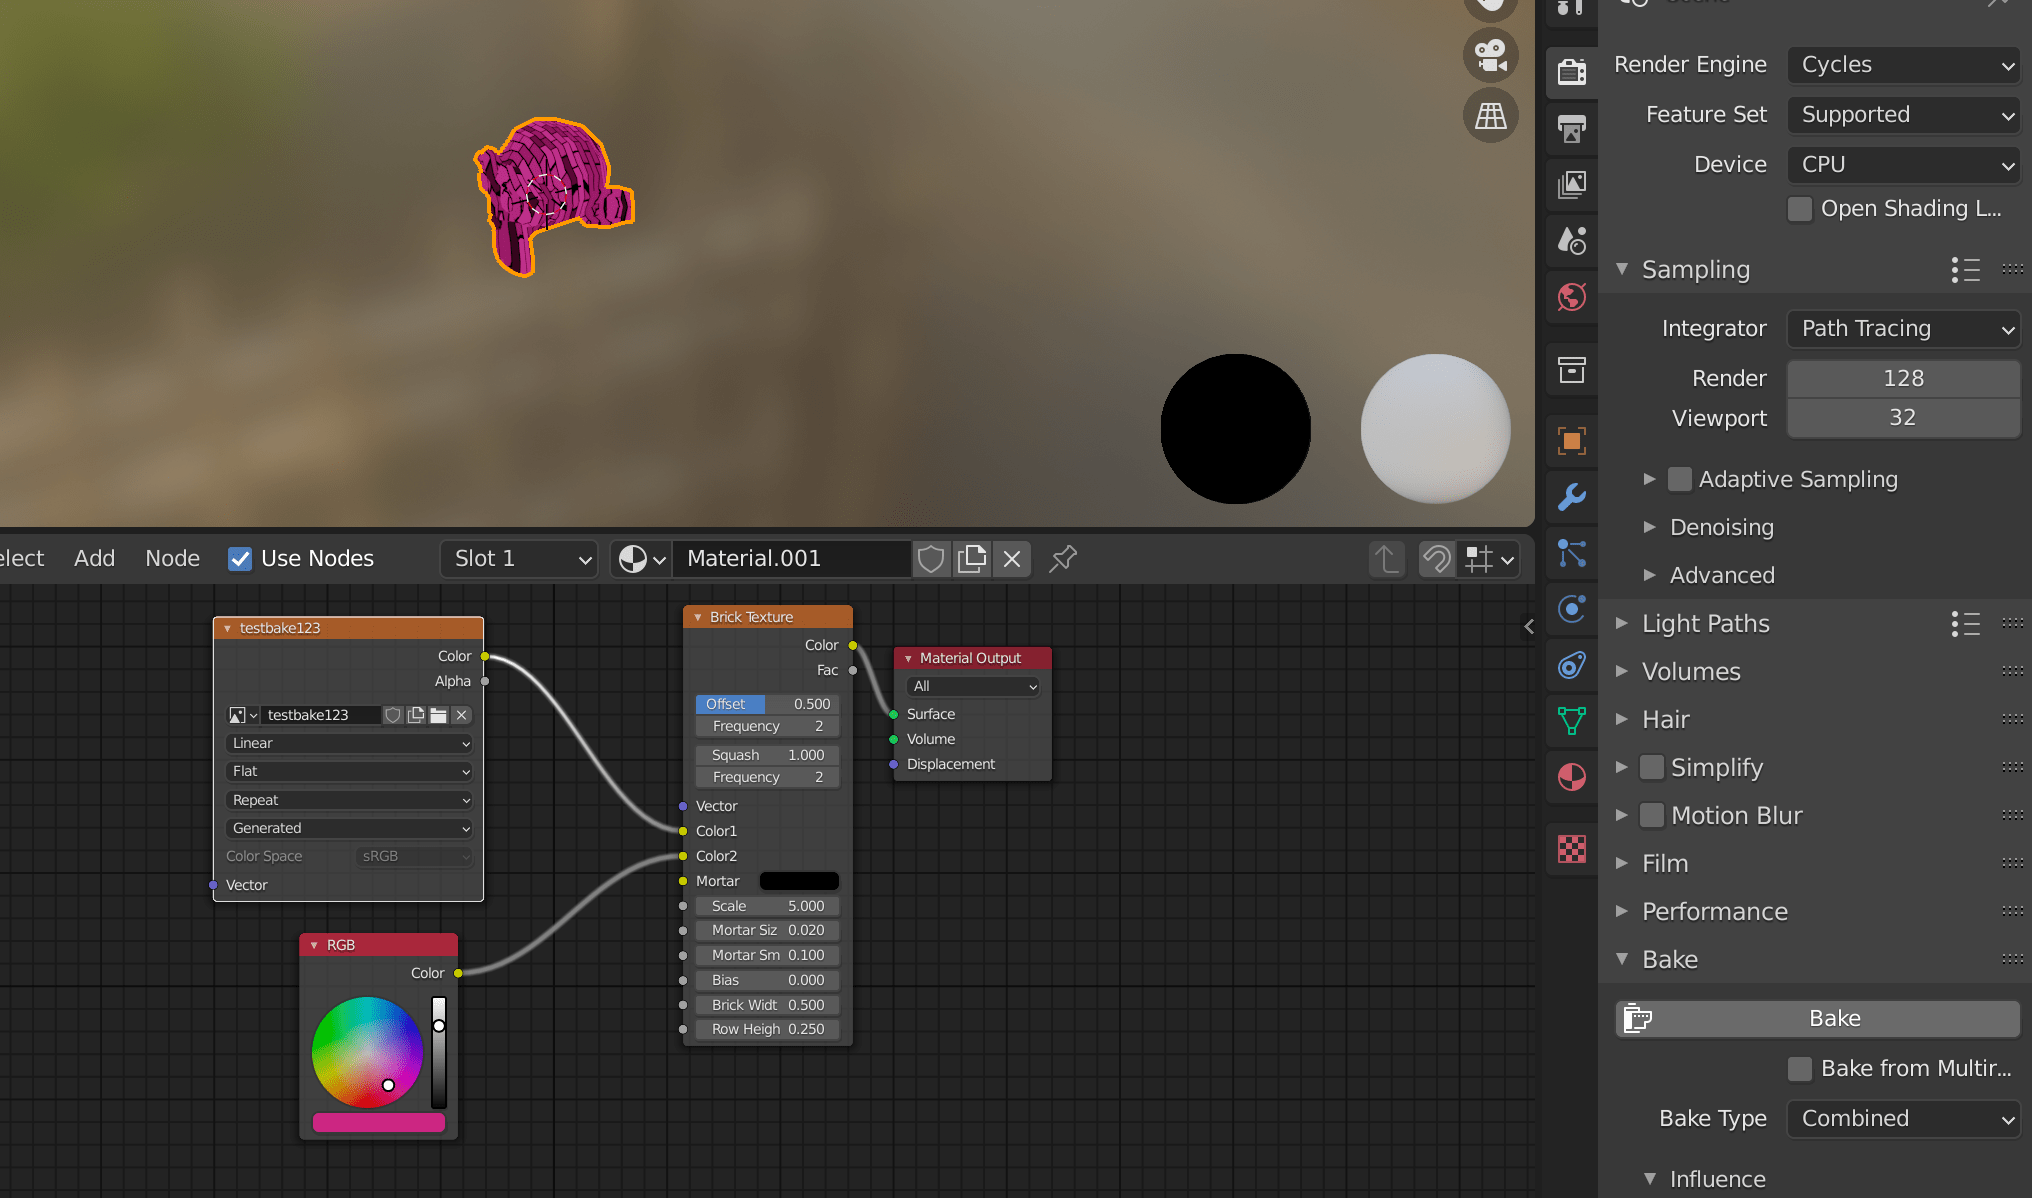
Once this has been created, go to the render properties tab on the right hand side. Select bake (alittle way down the options) ensuring the image texture node in the shader editor has been selected aswell as the object in the viewport (the monkey head).
And if you export this model to GLTF (including textures - occurring by default) and import it into the GLTF online viewer then you will see the texture is loaded onto the model and there ya go, baked a shader node network into an image texture and used this in web 3D setting. As see in the GLTF online viewer:

